Note: Not all of the pictures are my work. Some of them were taken from various social media pages and they are the work of other photographers at race!

Day3: RACE Day

So the day whe have been looking forward to has finally arrived… …race day is here. We grab a good breakfast and headed to the start line. Once at the start you could see all kind of motorcycles in heavy, super heavy and C class.
25
26
28
29
30

Looking dow the start line I was getting a bit nervous. Why? Well I have never jumped a log before and this was the first obstacle here.
38

So it was time for me to start. Adrenaline was already high. But after clearing a log and hearing the roar of the crowd the levels of adrenaline went sky-high.
39.2
39.1
40
41.1

Here is a video from the first special test of the race, the rest can be found on youtube:

There are not a lot of pictures during the race, but I have found some from the start of the last special test. This was a fast one, with speeds well over 100km/h.
41.2

This was a really great experience to have, and it kinda got me a race bug, but don’t tell anyone.

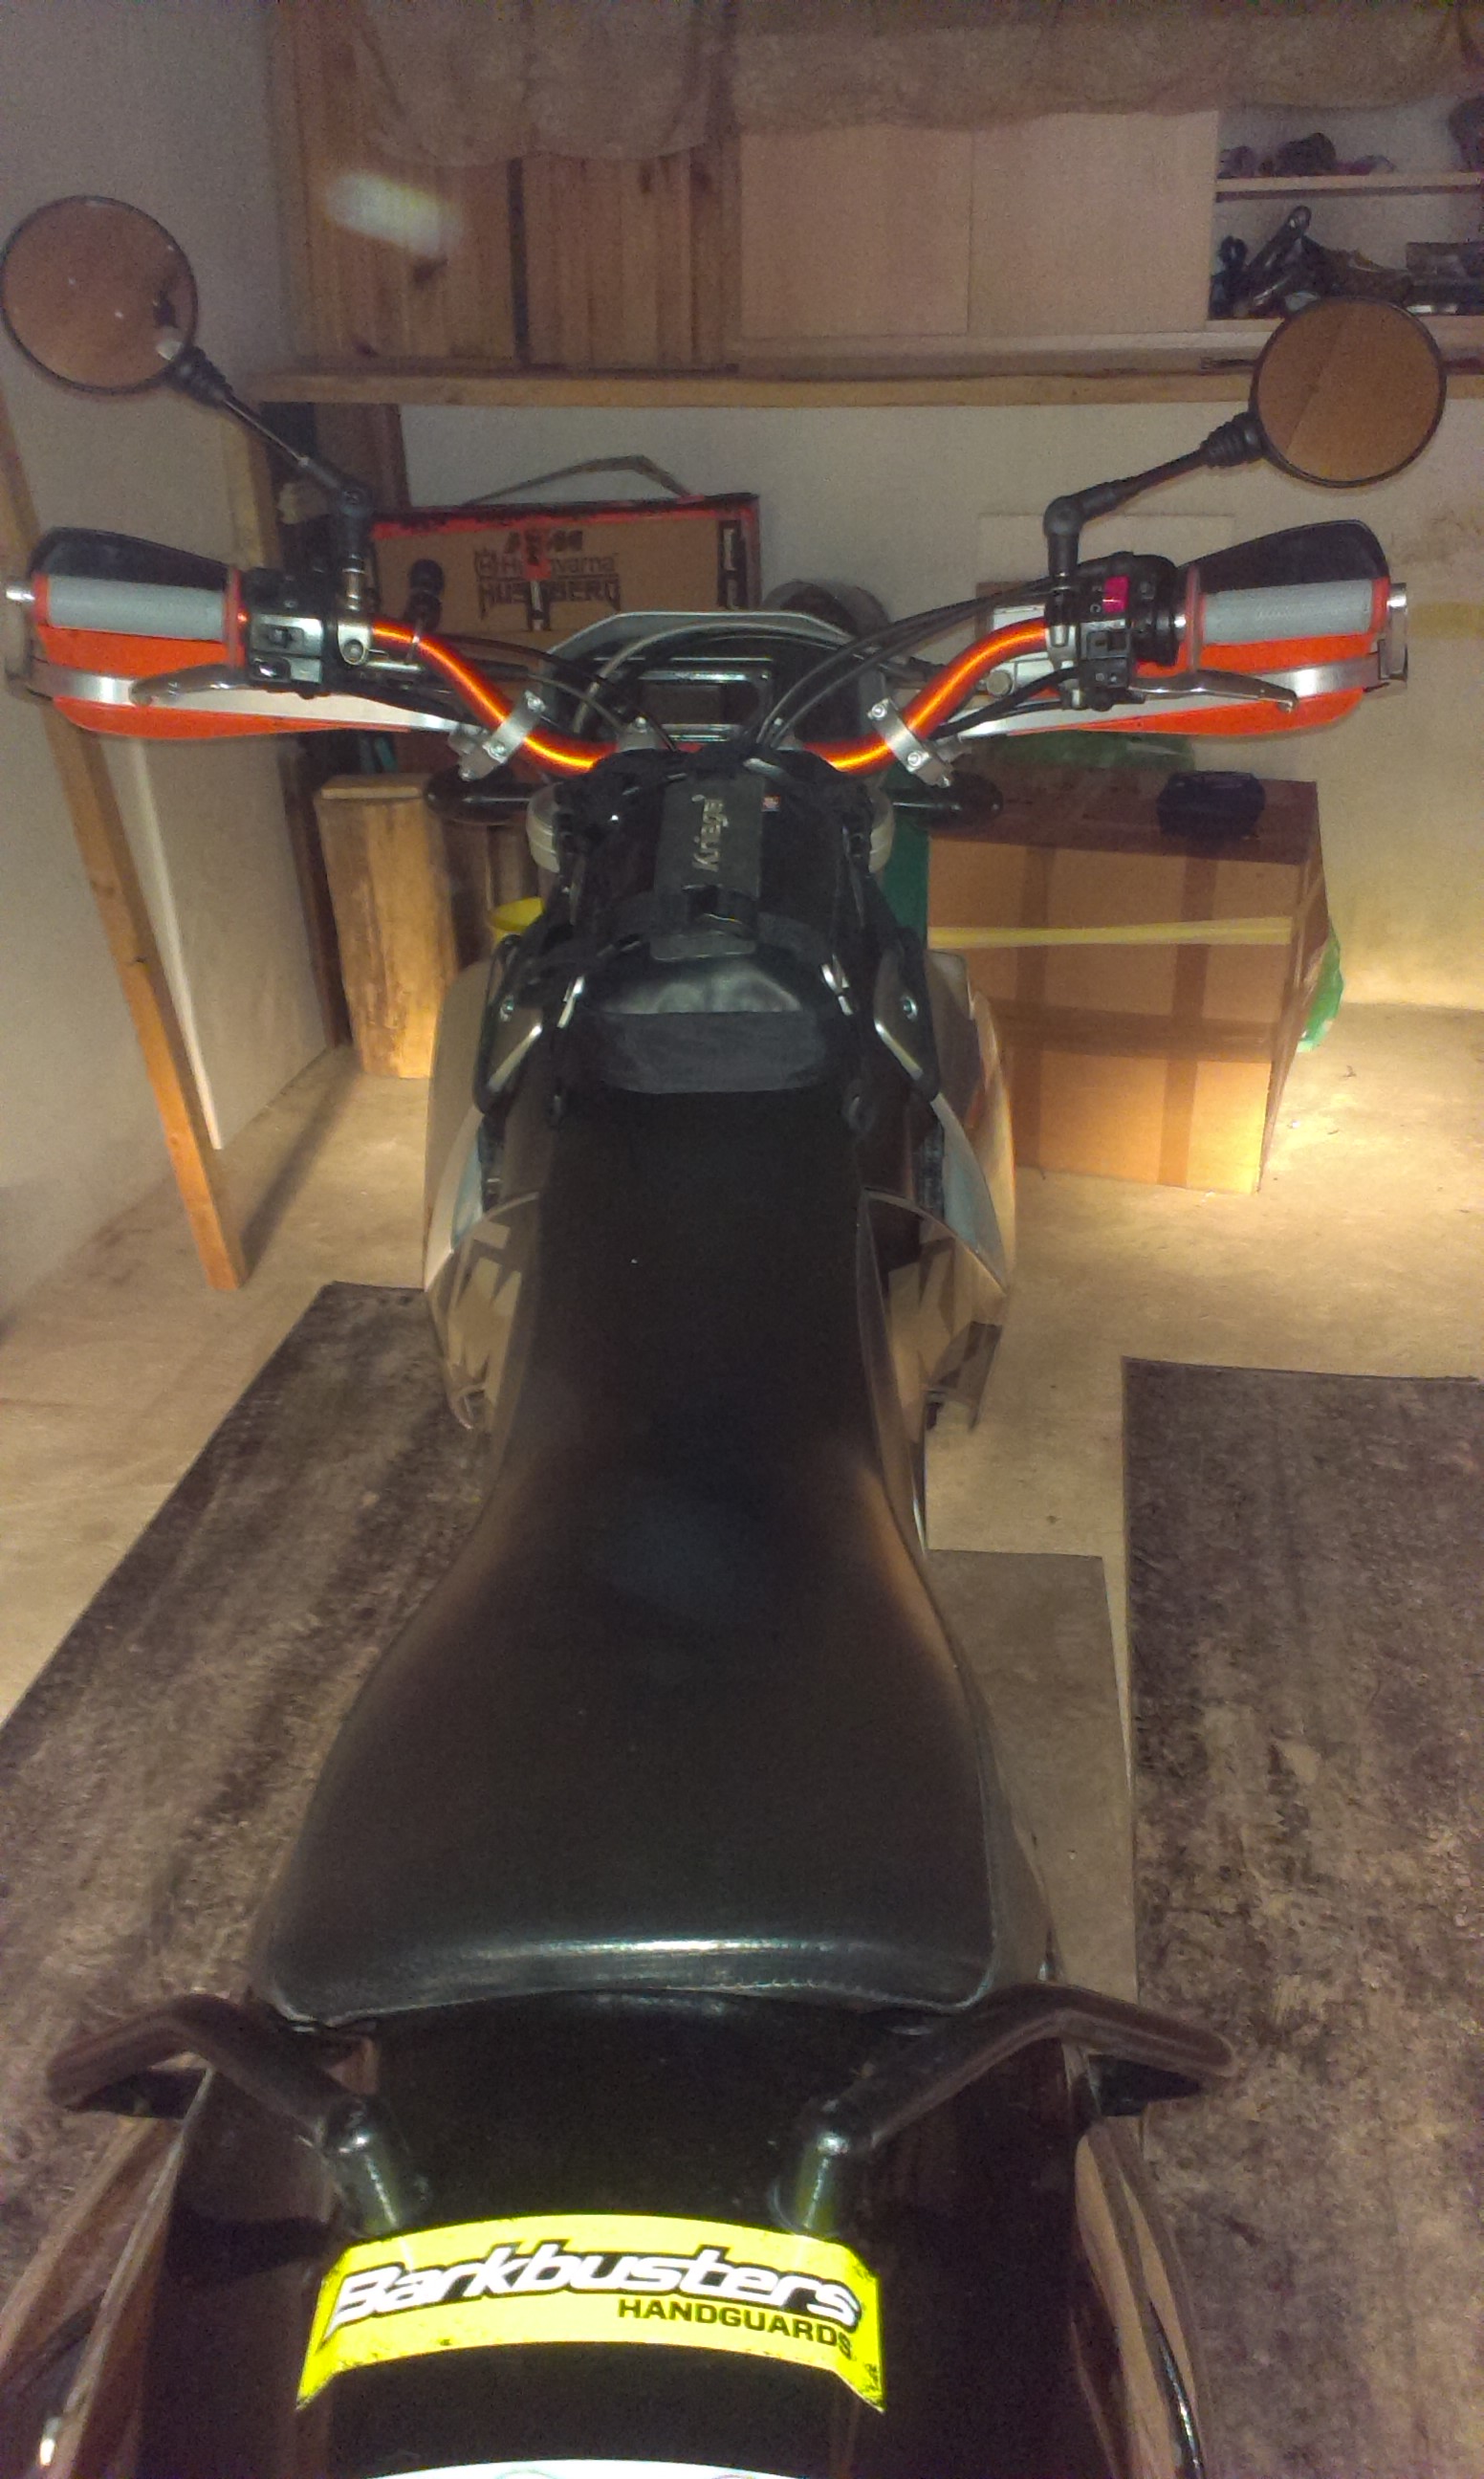
After the race it was time to get the bikes ready for a return trip home.
42

While setting up the bikes, we got a visitor…
43

After all that work, we were quite hungry, so we went to the hotel restaurant to eat. We got the menus but it all looked like I was going to bed hungry.
47

Luckily Robert knew how to read this gibberish so we ordered a plate of grilled meat. After a good lunch, we took a few hours off for a nap. Later in the evening, it was time for a debrief and a few beers with old and new friends.
48

Here is a promo video from one of the media that was there, it gives a great overview of the action taking place:

We went to bed quite early as we still had 2 rainy days of riding to do to get home. We took a different route back home. It was quite interesting, and we also hit some dirt roads.
50

After this pic, it started to rain, heavily, and after all day of riding in rain, my hands looked beaten.
54

We heave booked a room in the hotel we were staying on day 1, so we knew we are going to be warm and dry in the evening. Another drying marathon commenced when we arrived at the hotel.
55

We were hoping to get better weather in the morning, but we weren’t so lucky. At least the weather was stable the whole trip.
56

So we geared up and headed for home, another whole day of riding in pouring rain. Got home late in the evening, got dried out and well rested, before I reflected back to the whole adventure. All I can say is that it was worth all the riding in the rain. I have to thank Robert for great company along the way, all the friends we have meet and made and organisers for making a event for big bikes. See you next year!

Stay safe!

Today I have finally fund some time to install a proper chain guide to my 640. Thanks to advrider.com inmates for pointing me in the right direction for the parts I needed for this.

Parts needed:
-54607066100 CHAIN GUIDE REAR ’94
-50207070044 RETAINING PLATE CHAIN GUIDE’94
-1 large M6 washer
-1 M6 nut

Note: On KTM 660 Rally they only use the chain guide without retaining plate

This is what we will be replacing
IMAG0858

With this
IMAG0856
IMAG0857

Remove the 2 bolts that hold the old chain guide on the swingarm and be careful, there is a spacer back there.
IMAG0860

That spacer will be replaced by the retaining plate front bolt hole.
IMAG0861

The bad thing about this upgrade is that you have to take the chain apart. So if you are changing your chain, now it is a good time to add a proper chain guide if you wish.
IMAG0862

Once the chain is threaded through the guide, you can start bolting everything back together. Tighten the front bolt just enough so that the whole thing doesn’t fall apart, now align the rear bolt for desired hight.
IMAG0863

Now this is where I have been playing around and swapping parts. Since there is really small gap between the rear bolt and sprocket (5mm or 0,20 inch) I have used a collar nut from the front bolt to save on space, and used a new nut and washer on the front as there is more than enough space. Once both bolts are tightend (don’t forget to use Loctite) the thing is rock solid.
IMAG0865

That is it. You are done. I feel this is a worthy upgrade to anyone that rides more off road.
IMAG0870

Stay safe!

Last year, about the same time as today, I was going around Google searching for some enduro gatherings, rides,… here in central EU/Balkans and curiously enough I came over a Serbian enduro challenge. Unfortunately I have been to late for last years edition of it, so I have decided I will make a mark on the calender so that I don’t miss it next year.

New year has passed and a new site was created for the race. I marked the date 22.5-24.5.2015 and asked around a bit if anyone wants to join. I was lucky enough that a good friend decided to join the ride. As we live around 750km from the race site and we have decided to ride our bikes there, do a race and ride back, we needed more than just a weekend off from work. And that is when we have decided to start on Thursday, after work and return on Monday evening.

So the fact that we are leaving for a race got me a bit worried and I packed more stuff for the bike that I might actually need. I had a redundancy planed for almost every occasion and the gear showed that. From oil, to coolant, clutch fluid, spark plug, levers, patches, engine block sealant, JB weld,… It might have been a bit of a overkill but better safe than sorry.

Day 1
The departure day has arrived… I left the work early as I had 3h of riding to do to our meeting point. All packed up and ready to go I left for my first destination, Bregana border crossing.
2

Half way to the border it started pouring from the sky. But I was on my LC4 heading towards a adventure. I arrived to Bregana a few minutes early, just enough to stretch a little and grab a sandwich.
4

From here on out, there was 2 KTM’s riding towards the same goal. Since we were a bit tight on time for the first day and it was raining we took the Croatian highway from Samobor to Slavonski brod, which took another 3h of riding. Riding a enduro bike, without any fairing and with knobbly tires in pouring rain on highway is not my idea of fun ride, but it was a necessary evil to get half way towards our final destination.

In Slavonski Brod we have crossed the border into Bosnia and started looking for a place to sleep and dry out as we didn’t have any reservations. At 8:30pm we arrived at a good looking Motel Dvor in Derventa. Luckly the staff was great and though full on their regular rooms, they found a spot for us. Once here a marathon drying has begun.
5

Day 2
In the morning we saddled up for another rainy day of riding. We headed south towards Tuzla on on the main road. It was slippery as hell, from all the oil and stuff on it, you could spin the rear wheel in 4-gear. Also the traffic was suicidal. We made a quick break just outside Tuzla to check the map, as my GPS was acting up the whole time.
8

From here we started looking for some gravel roads over the hills to get out of traffic. We have found a nice, about 30km, long stretch of gravel, unfortunately no pics as it was raining hard. When we came back to the main road and checked the map, I saw that we were really close to Srebrenica. On my wish we made a detour to there, as I wanted to see the memorial site for the victims of genocide. We didn’t take any pictures there as they were having a ceremony, so we looked for a far and went to get some gas.
12
13

We were really close to the border and weather was getting better. As soon as we crossed the border the rain stopped. So we took one last look towards Bosnian hills from which we have just descended.
17

And took a quick look down the road where we had to go.
19

From the border to race site and our hotel was just a 20km ride in DRY conditions for the first time in 2 days. Arriving at the hotel, we checked in and went to our rooms. Well lets just say that the rooms weren’t much…
20
21

I wanted to dry my gear outside, lets just say that it was a bit of a challenge getting to the balcony. 22

So we changed into our civil clothes and went to the race officials to get registered. Let me just say that the organisers really had put a lot of effort into organising this event, it was really top notch.
23
24.1

Now it was time to get the bikes ready for the race day. Lowering tyre pressure, getting rid of all the unnecessary gear and most importantly adding a start numbers to the bike.
24.2

Now it was time to go for a beer and than to bed, because after 2 rainy days in the saddle on our LC4’s we were really tired.

Stay tuned for part 2, the race day.

For long distance off road riding, you need to be able to take care of yourself, your bike and your electronic equipment (phone, camera,…). And to be able to charge all those hi-tech gizmos on the bike you need some kind of a charging socket. There is a variety of things available on the market today, but I have decided to go with a standard waterproof 12V socket.

Once you decide what to use, it’s time to find a place to mount it on the bike. After looking around the bike for a while and testing/evaluating different positions, I have decided to cut a hole in the dash board.

Here is what I intended to use, a socket and a on/off switch. Unfortunately there was not enough room for both behind the headlight mask.
IMG_4780
IMG_4777

Now the nerve wrecking part, cutting a hole in the dash… Luckily everything went great and I nailed it on the first try.
IMG_4779

Just enough room to tighten the nut up.
IMG_4781

Now all I needed to do is to strip the bike down and run the wires.
IMAG0757
IMAG0758

Crimped on some connectors, plugged them on, and tidy the wires behind the mask. Make sure you put a fuse on the + side as cloese to the battery as possible.
IMAG0761

Now I have constant power at the socket, like I had on my KLE before. Here are before and after pictures
IMG_4776
IMG_4783

Stay safe!

Bagging up

Posted: 05/04/2015 in Modifications archives
Tags: , , , , , , , , , , , , ,

Today I have spent a few hours in the garage looking at where to mount a Kriega US-5 to carry my tool-kit or my medical pack. First I was looking at the rear fender.
IMAG0681

Took a while to disassemble the rear of the bike, only to find out there is no space for the bolts. Looking at the above picture, two most left holes, didn’t have enough space below the fender for washer and a nut. So I reluctantly reassembled the back end together. Checking out the bike with a stuffed bag, I have found a nice spot, on the fairing just above the headlight. On a second thought, that fairing might not be strong enough to support the weight of my tool-kit over rough terrain.

So the only spot on the bike left, was the tank. The stuffed bag looked good on the tank, but I don’t have Kriega tank adapter, so I needed to figure something else out. Bottom strap was not a problem, just threaded it under the seat. Top was a bit more challenging. Straps wouldn’t fit around the frame tube, so I threaded them around radiator shrouds. I was quite happy with the position of the bag, but didn’t like all the straps hanging around. After a few more attempts, I was happy with the result.
IMAG0679

There is enough room at the handlebars not to interfere with steering, or steering lock.
IMAG0680

It sits nicely on the tank. And it won’t get in the way when standing like a standard tank bag.
IMAG0678
IMAG0682

That is it for now, field test will be done as soon as the weather improves.

Stay safe!

Today was a nice sunny day here at my place, and instead of riding I have decided its time I tackle the GPS power cable installation. After looking around under the seat, and failing with finding any suitable place, someone has suggested to wire it up to park light.

So I have taken the mask off and had a look inside
IMG_4769

I have stripped the park light wires and tested the polarity. White wire is positive (+) and the brown is negative (-). After that I have found a nice place for for the fuse holder and soldered everything together. Its a bit of a mess behind the headlight on those Enduro models.
IMG_4770

Fuse holder sits nicely above the connectors and tightly wedged untder the dash screws.
IMG_4772

The GPS plug is located at the brake and speed sensor cable guide.
IMG_4773

Here is everything buttoned up, also with new mirrors.
IMG_4774

And the view from the seat is great now, and I won’t get lost any time soon, hopefully.
IMG_4775

Stay safe!

So the final part of my spring preparation was sprocket and chain swap. From what I have gathered form different forums and people that have been riding the 640’s for year is that the best option for the front sprocket is that OEM KTM ones, and they are also quite cheap. For the rear I have went with JT Sprockets and the OEM KTM didn’t have the one with tooth count that I needed, and the chain I chose was a DID 520VX2, its a 520 spec chain with x-rings.
IMG_4657

So it was time to jack-up the bike and start tearing it apart, yet again.
IMAG0635

With the new sprockets, I have also decided to also change the gearing. I went form 16/42 stock ratio, to a 15/44, recommended by a good friend. After a few rides, I really like this setup and with a throttle cam system, the bike has really, turned in to a crawler at really low revs.
IMAG0640
IMAG0637

After removing the old rear sprocket, I have thoroughly cleaned the bolts so that loctite would hold when I put everything back together.
IMAG0633

Shiny new rear sprocket on the hub.
IMAG0638

Before I had reasembeled the rear end, I have takent the adjuster bolts out and dipped them into anti-seize high temp paste so that they wont seize up again.
IMAG0639

Next I installed the front sprocket up, just so that I could measure the chain length needed. I got a 120 link chain so I knew I had to take some links off.
IMAG0642

Shortened up and put together with quick link
IMAG0644
IMAG0649

After that it was all just the matter of torquing up the front sprocket and cleaning everything before use.
IMAG0654

All you need to do after a this is go on a short ride to check everything and after that re-adjust the chain tension. This should hopefully last at least 2 seasons of riding.

Stay safe!

So I am getting close to finishing the bike up. So in this garage session I have tackled the last few bits of work I have left. This afternoon I had some help so there aren’t many pictures. First of all I have changed the clutch master oil. I have used a BelRay 2,5w fork oil in it and it works great.

This is where I left off in part 2
IMG_4754

Next I have oiled a new Twin-air air filter and threw the old one away.
IMG_4746
IMG_4748
IMG_4749

I got a new battery under warranty installed it and tried the e-start for the first time in I guess 2 years, according to PO when I bought the bike. It turned the engine, which was great to hear.
IMG_4751

That out of the way, I turned my attention to the most ridiculous and complicated oil change process ever invented. I think those Austrian engineers were drunk or had a serious hangover when they designed the oil system on LC4’s. Luckily there are good people on advrider.com that has made things more clear, but still it took a lot of time.

I have use KTM OEM filters and gasket, with BelRay Thumper Racing Syn Ester Blend 4T Engine Oil 15W-50.
IMG_4755

Last oil change on this bike, looking at the date I found on the small inside filter, was 13.6.2014, its good to know that the bike had fresh oil in regular intervals. But I guess PO didn’t have any idea what is with the plugs on the bottom of the engine as the situation there has scared me a bit. Do you see that error?
IMG_4756

He has put the oil drain plug, with the spring in the by-pass valve hole, and the plug for the by-pass valve in to oil drain plug. I have tried correcting the mistake but the threads wouldn’t engage the oil drain plug in it’s rightful hole, so I had to leave it as it was.

Last, but not least, I have changed most of the the bolts that hold the plastics on with new ones.
IMG_4757

Last thing I have to do is change the chain and sprockets on the weekend if I will have any time.

Stay safe!

To continue where I have left off in part 1. I have gone ahead and changed the brake fluid in the rear brakes. Doing brake fluid change is a lot easier if you have a spare set of hands to help on one side since master cylinder is on different side than the caliper.
IMG_4699

This bike will be for solo riding only, no passenger like on KLE, so I have removed the rear foot pegs. I have left the peg hangars in place as they are a good tie down point for luggage.
IMG_4701
IMG_4702

Than I have decided to change a spark plug. But trying to get it out with my socket proved impossible. I needed a serious extension to get it undone.
IMG_4722

It was tight and rusted, probably still the OEM one from years back.
IMG_4725

I have seen a few occasions where people have lost their shifter levers. So I have drilled a 1,5 mm hole through the bolt head and safety wire it to the lever itself so it can not get lose and fall off.
IMG_4703

Next on the list was to tidy up the engine bay and get rid of all the non-essential crap in there. I have checked the engine over and saw that previous owner has removed SAS from the bike, which is great, less work for me. But the EPC was still there. You can find info on both system on the links provided.

So this is what you take off the bike. Note that the 90 degree pipe and the little filter have to go back on the bike. The EPC unit and the hoses on the right go to the shelf.
IMG_4719

I have tucked the small filter in behind the rear brake fluid cup. Fits nicely out of the way.
IMG_4721

Before…
IMAG0595

…after. It looks a lot cleaner now, still need to sort out all the disconnected wires and tie them somewhere safe.
IMG_4718

Than I have tackled those really old coolant pipes. I have ordered a set of orange pipes to replace the old black ones.
IMG_4698

I started removing and replacing those hoses one by one. It was quite hard to get some of those hoses off because of all the grime inside on the fittings.
IMG_4729

I have replaced all the hoses but one, which didn’t have a jubilee clip but some soft of permanently clamped metal strap and I didn’t want to mess with it.
IMG_4732
IMG_4743
IMG_4741
IMG_4742

That is it for part 2. Stay tuned for part 3 where I hopefully finish the bike and take it for a spin.

Stay safe!

Spring and warmer temperatures are just around the corner and it is time to sort out the bike for this riding season. I have spent the whole afternoon in the garage today and got a lot done, but I ran out of electricity just before I could finish all my objectives for today.

I have quite a lot to do before I can start ridding. Through this series of posts I will be doing the following things:
-Refresh all fluids
-New filters all round
-New chain and sprockets with 15/44 gearing instead of 16/42
-Swapping clutch and brake levers
-New coolant hoses if they arrive
-New battery
-Sprag clutch replacement
-New throttle tube
-Spark plug

I have probably forgot something but who cares, it’s a long list and I better get to it.
IMG_4665

First on the list was finding out where the clutch is leaking. Or so I thought. I cleaned all the grime on the outside off and expected to find a half empty master cylinder, but when I loosened the bolts It was overfilled, so I guess no leaks. Next on the list was a new clutch lever. I ordered a short lever (54602031000
) because I didn’t want to cut the old ones.
IMG_4666

Looking at the pivot point, 12 years of use have left a mark on it.
IMG_4668

That is the clutch side almost done, still waiting for rubber boot and insert in the master cylinder. But it’s looking good.
IMG_4669

Than I have moved over to the brake side. Same as with the clutch, I got short lever for the front brakes (50313002100).
IMG_4670

Brembo even supplied a HUGE paper instructions
IMG_4671

Old and new lever. You need to swap over the push pin.
IMG_4672

Next I moved to a little something of a improvement, instead of regular maintenance. Since throttle is a little jerky on the 640 I bought a KTM Powerparts Throttle Cam system to try and tame it a little.
IMG_4677
IMG_4678

First order of business was removing the grip from the old tube without damage. So I pushed in a screwdriver a little and spray some WD-40 inside. Work it around and deeper in, add WD-40 and repeat. All the way to through the whole grip. and it will slide off without any damage. Make sure you degrease it before reinstalling it on the new throttle tube.
IMG_4673
IMG_4674

Now you can slide the rubber boot off the cables and undo the bolts keeping the throttle assembly together. Disconnect the cables and remove the old plastic tube. Once off, be sure to clean the bars thoroughly before moving on.
IMG_4681
IMG_4683
IMG_4684

Here is the KTM throttle tube with a 200 cam on it that I will try first. You get 3 in the set, stock one a 200 and 400 cams, which have altered cable pull.
IMG_4679
IMG_4680

When you put everything together make sure nothing binds and throttle snaps back as it should. There is no need to adjust any cables. Tighten everything back together and replace the rubber boot.
IMG_4687
IMG_4688
IMG_4689

Next on the list was to replace those rubber inserts in the triple clamps that hold the handlebar clamps on. They were old, damaged and hard.
IMG_4694

Now instead of getting a new set of rubber inserts, I have opted for a solid mounted version and got aluminium inserts. There are some benefits and some drawback to this.
IMG_4693

The swap is a so straight forward that I won’t describe it. Just take a look at the pictures and you should be able to figure it out.
IMG_4691
IMG_4695
IMG_4696

After securing the bars back to the bike I decided the next thing to take care is the brake fluid. I only managed to do the front as my battery that powers my lights has died, so I will be doing the rear brake in next garage sitting. This was inside the front master cylinder, not to bad.
IMG_4697

Stay tuned for part 2.